Every year it feels like summertime rushes to an end faster than ever before - where previously your days were filled with endless lounging around your beautiful above ground pool, now it’s time to close up shop for those chilly winter months.
Failure to do so will result in a huge cleanup operation by the time next summer rolls around, and potentially damage to your pool’s fragile internal components and vulnerable infrastructure.
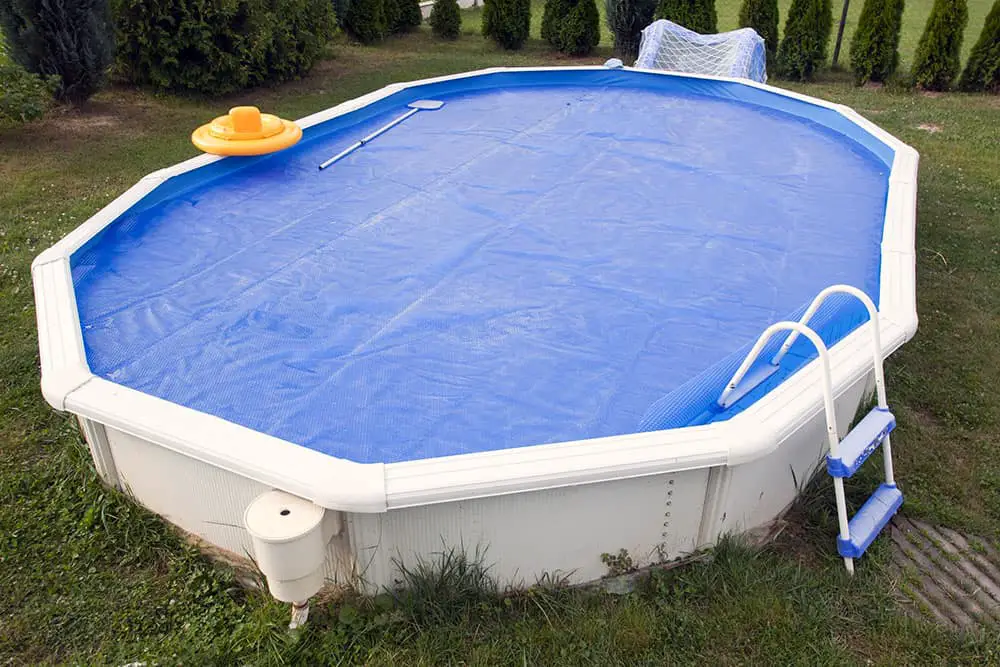
Spending just a couple of hours prepping your pool for winter now will prevent a whole heap of hassle - and cash spent fixing those problems! - in the long run.
When To Close Your Pool For Winter
The answer to this question depends on what part of the world you’re living in!
Generally speaking, once temperatures have dropped and appear to be staying below 65 degrees Fahrenheit, it’s probably time to close things down.
Ten Steps For An Easy Pool Closedown This Winter
What you will need:
- Winterizing chemicals (pH increaser, alkalinity increaser, calcium hardness increaser, pool shock, algaecide) or a pool winterizing kit
- Skimmer cover
- Expansion plugs
- Return line plugs
- Above ground pool winter cover, with winch and cable or clips
- Antifreeze (if necessary)
- Pool air pillow
1. Clean Everything Thoroughly
Before shutting up shop for the season, it’s time to clean everything.
That means brushing down those walls, skimming the surface of bugs, debris and other gross floating stuff, even vacuuming under the water if you’ve got the equipment to do so.
Taking the time to do this prep work makes it even easier to balance the pool’s water in a few steps, as well as preventing the development of mold whilst that cover is sitting over top.
2. Test Your Water
Before you add any necessary chemicals, you ought to know exactly what condition your pool’s water is in currently.
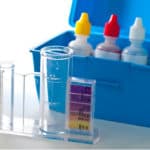
Using test strips - or a proper water testing kit if you want a more accurate result - determine where your pool’s pH is sitting.
Ideally, you want it to sit between 7.4 and 7.6, with an alkalinity at 100ppm-150ppm (parts per million), with the ideal sweet spot being approximately 125ppm.
You should also check the calcium hardness levels if you want to be really thorough, which should be at 175-225ppm, as well as the chlorine, which you only want at 1ppm to 3ppm.
3. Add The Winterizing Chemicals
Now it’s time to balance out your water, to get it ready for the next swim season!
This is easily done with a Winter Closing Kit, which contains everything you need to do this and doesn’t require you to buy each chemical and add them separately.
Otherwise, you need to adjust the alkalinity, pH and calcium hardness yourself, as well as adding your own pool shock and algaecide, just to be on the safe side.
4. Clear The Lines, Then Store
In the same way that a frozen pipe can be damaged because of the way ice expands, your pool’s water lines are also vulnerable to issues here.
It doesn’t matter how “mild” your winter is, you should take the time to disconnect your lines, then clear and store them, for a much easier set up next year.
All you need to do is remove them, let all of the excess water drain and leave out in the sun to air dry, before wrapping them up and storing in a cool, dry place.
Don’t skip the air drying, or you’ll open them up come spring and find them full of mold!
5. Cover The Skimmer
First things first, go ahead and remove your skimmer basket and put it away safely for next time.
Now you ought to cover up your skimmer for the winter months, sealing out the elements - this means you don’t need to drain the pool past the skimmer line, which makes for a much easier time.
However, if you don’t cover it up, be sure to keep an eye on it and make sure it is free and clear of obstructions, otherwise it can fill with water which then freezes and causes the skimmer to crack, rendering it useless.
6. Prepare The Pump And Filter
This is a relatively easy step! For the pump, simply remove all drain plugs and then take out the pump, all of its hoses, and a chlorinator if you use one.
Pop them in the pump basket and store everything away somewhere dry and safe indoors, then you won’t have to worry about finding them next year.
If you’ve got a sand filter, simply set its multiport valve to “winterize” before removing the drain plug - if it has a sight glass or a bleeder valve, be sure to remove and store those too, keeping everything together in the pump basket.
For a DE (diatomaceous earth) filter, drain and then rinse off its grids with a garden hose, leaving the valves open. The same goes for a cartridge filter! Either way, they should be stored inside to keep everything safe.
7. Clean and Store Accessories
Whilst winterizing, don’t forget to take out any ladders, floaties or other pool toys you might have, as it could lead to issues if you leave them there under the cover - metal could rust, contaminating your water, amongst other serious problems.
8. Reduce Water Levels
If you’ve not covered up your skimmer, then you should drain the water until it sits below the skimmer and returns; if you have covered it, all you need to do is disconnect the skimmer’s hose and make sure it’s covered.
9. Add The Pool Pillow
Sometimes called an ice compensator, this bad boy will make sure that any pressure caused from snow or ice accumulating on the cover cannot cause damage to your pool, as well as keeping water and debris away from the sides.
Blow it up, throw it in and secure it down so it stays in the center of the pool.
10. Install Your Cover
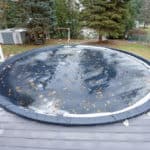
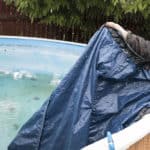
Last but not least, it’s time to install your pool’s cover, then secure it with whatever accessories you prefer, either a winch and cable or some cover clips and additional ties - as long as it’s nice and secure, you shouldn’t have any problems.

